The SLS is my first model to get LED lights. The aim is to make this feature completely invisible once turned off. This applies especially for the controlling electronics and the power switch. But more on that in another post.
Here we focus on the integration of the LEDs into the kit.
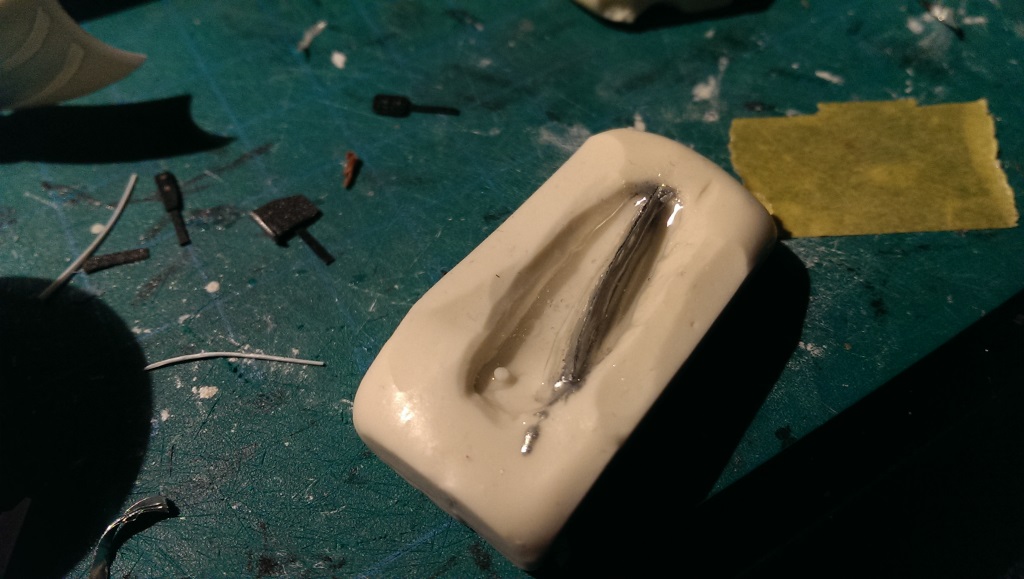
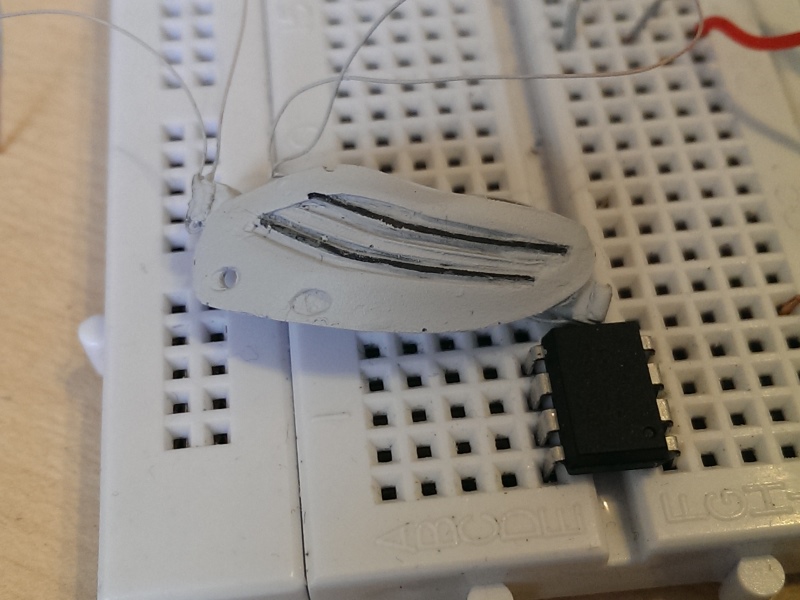
There are some videos around on the internet where people upgrade 1/18 diecast models with LEDs. The approach there is normally to drill holes into the plastic parts and then place LEDs or optical fiber into them. In 1/24 scale it’s a bit different and I found another way of doing it. First, the plastic parts of the front and rear lights were molded using silicon. Into the molds of the rear lights I placed some aluminium foil to create a barrier between the top part (truning signal) and the bottom part (rear/ brake light). Then, UHU 2K epoxy glue was poured in. After drying, some acrylic glas was glued on.

To the acrylic glas, the LEDs were attatched. Two for each segment. One on the left and one on the right side. This illuminates the parts pretty evenly. The trick is now to paint the whole part except the stripes of light. The final result will be seen once the model is finished.
For the front lights this technique works aswell. Here we have three parts:
1. Turning signals on the top
2. Main headlights in the middle
3. Daytime running lights on the bottom
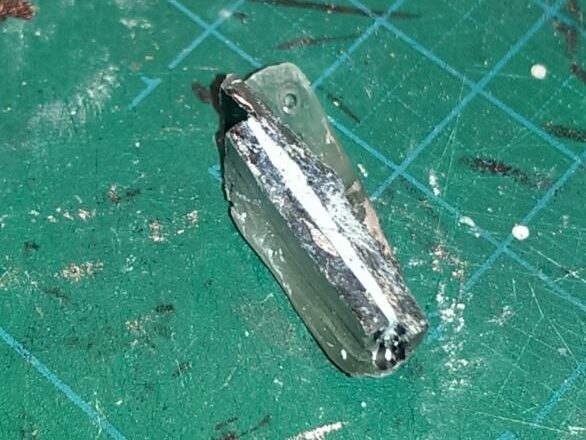
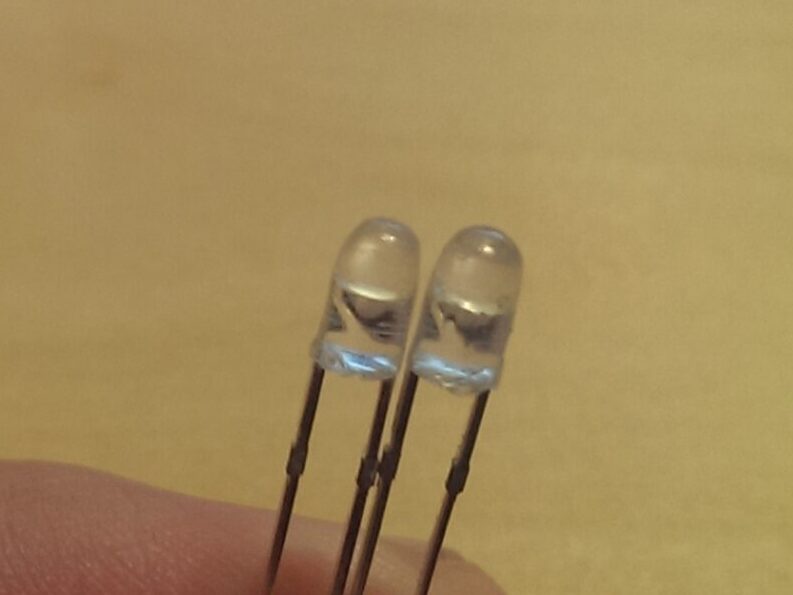
This time the separation between the clear parts was made of a mixture of the epoxy glue and silver enamel paint. It cures just like the pure epoxy but light won’t pass through it. A hole was drilled and normal 3mm white LEDs were inserted.
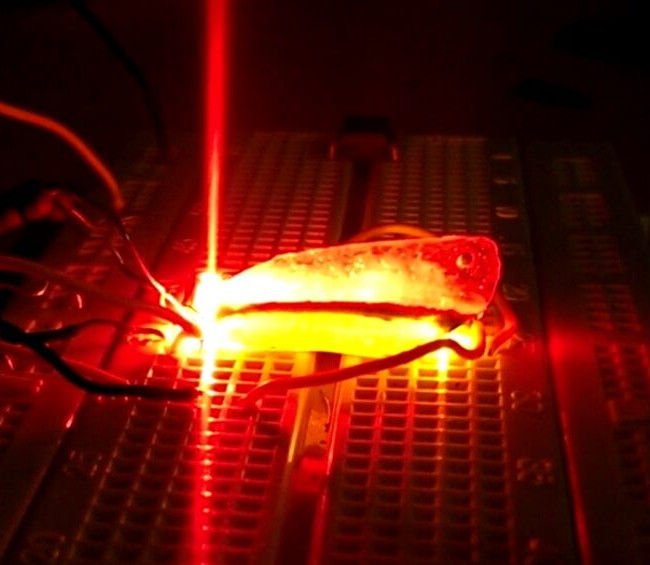
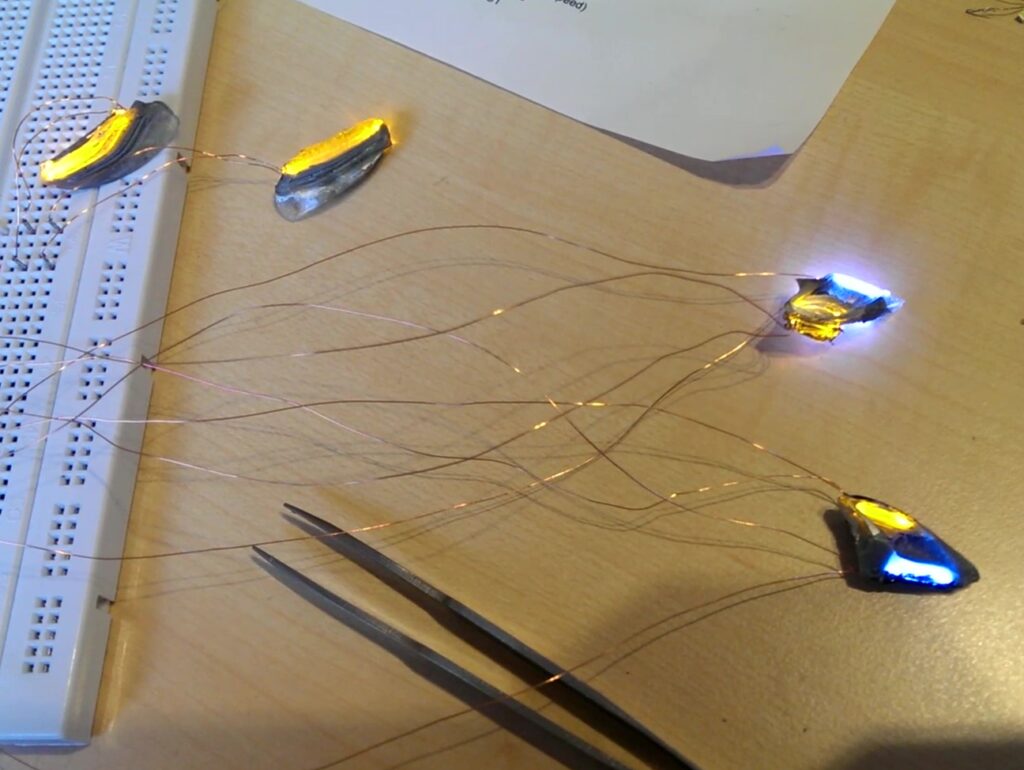
First tests of the setup proved to be successful:
The last and seemingly most difficult light to recreate was the rear rain light.
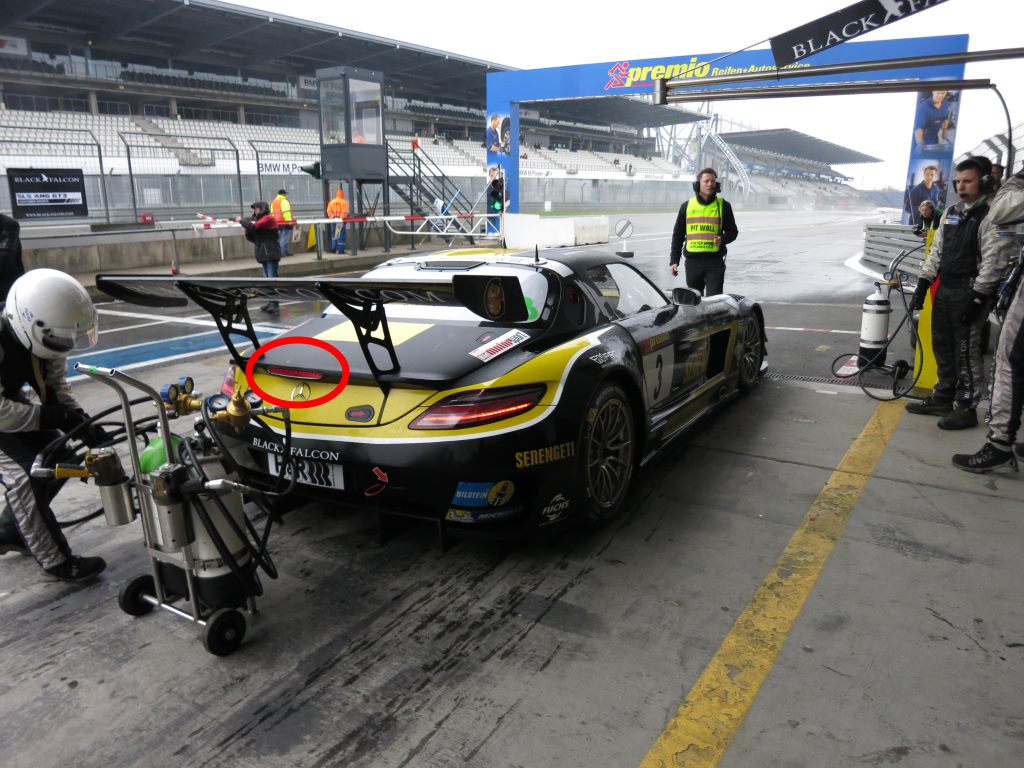
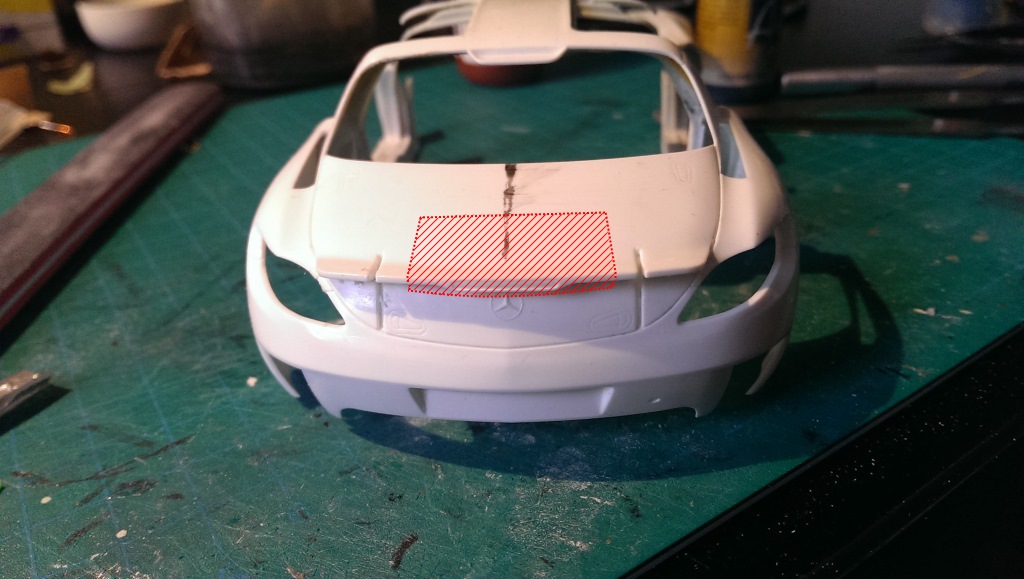
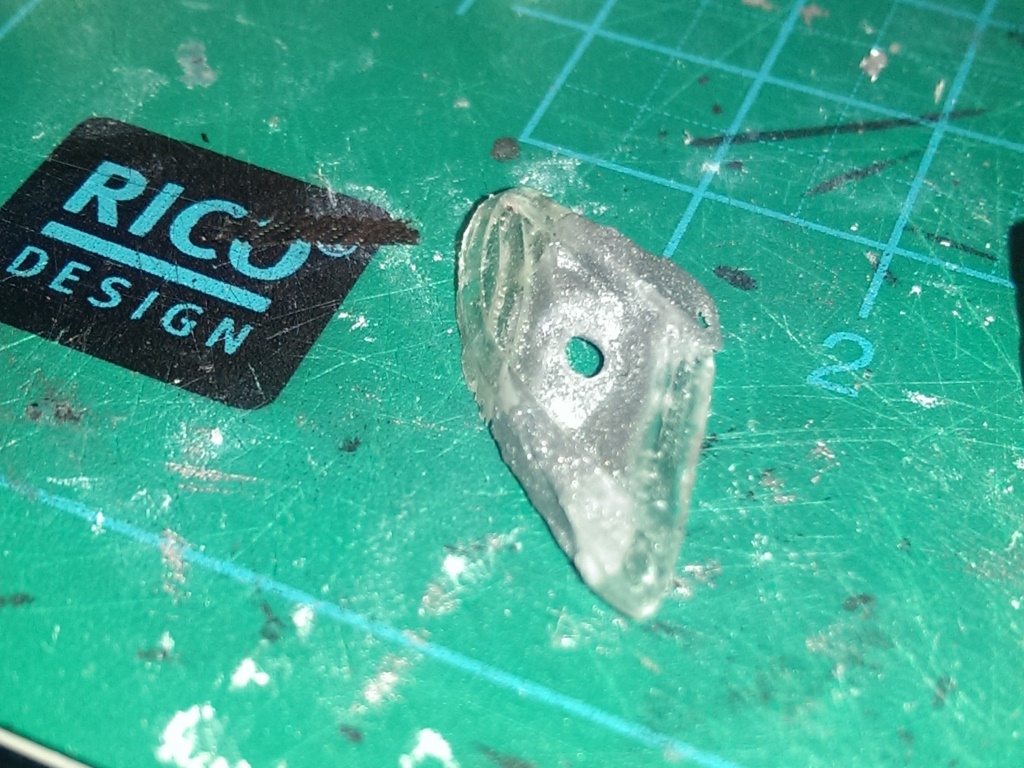
It is a very thin part and just cutting or drilling out the stripe on the plastic body won’t work. So I decided to actually cut out the whole part of the body (the red marked area) and then cast it in clear like the above mentioned parts. This clear part will then be glued back into the body and illuminated.
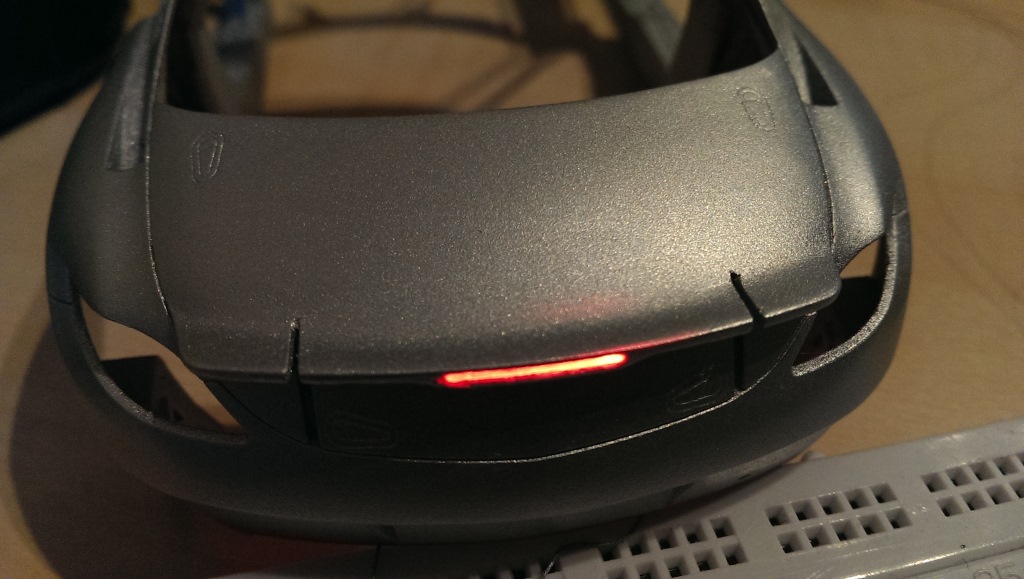
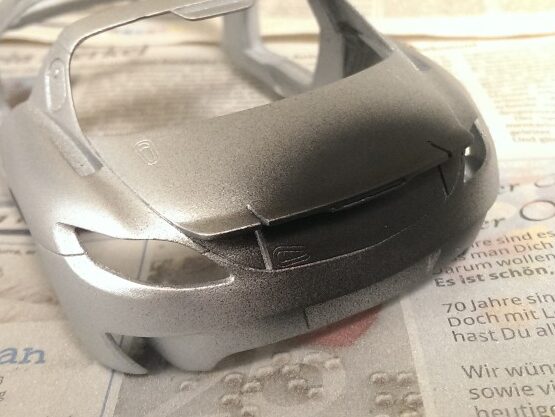
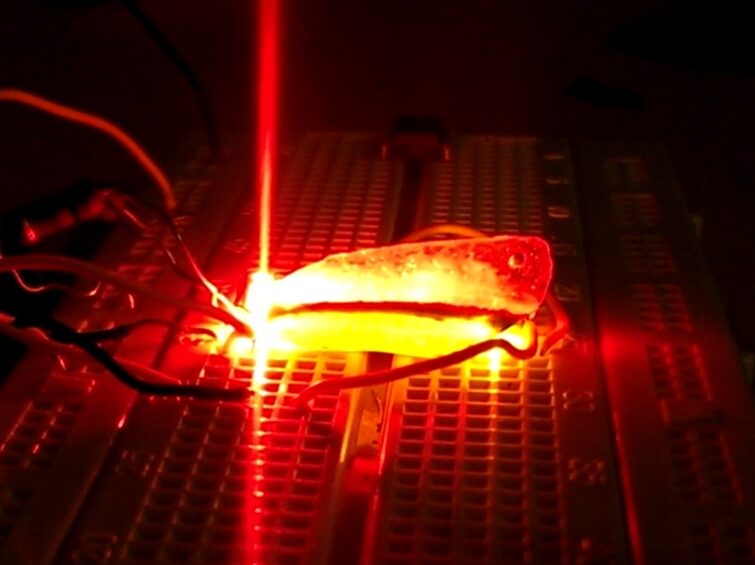
The above picture shows that it works, but the first layers of paint were not thick enough to block the light completely. Therefor I needed to spray another layer of black paint over the silver and then in the final paintjob it will be covered with silver again.
– Project Page –