


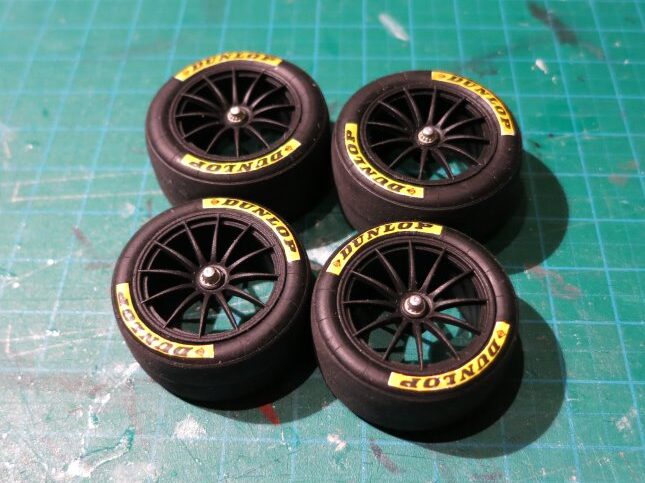
SLS GT3 – PART 17 – Tires
I decided to give the SLS black rims. First, the silvery chrome that was out of the box applied to the rims needed to be stripped away. Oven cleaner is the standart medium to choose for this task and it worked fast and good. You just need to cover the parts with the stuff and after a few minutes the chrome has gone. The rims were then painted with Vallejo Black and clear coated with…
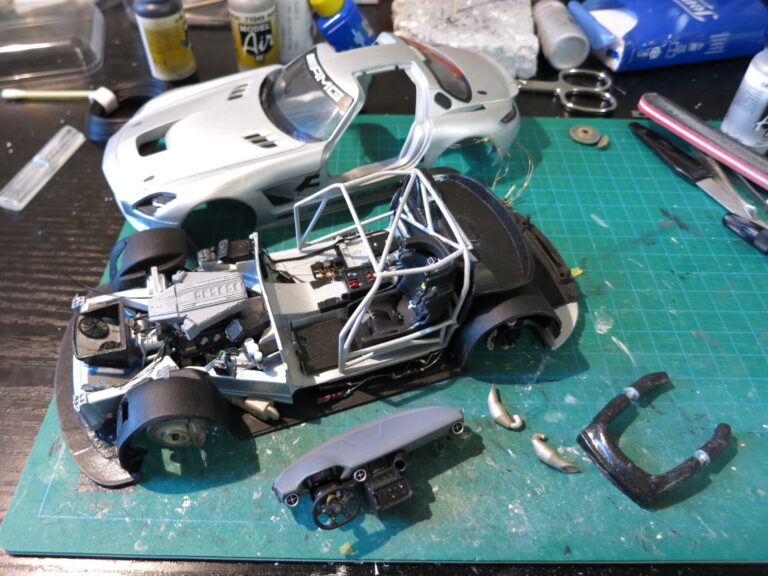
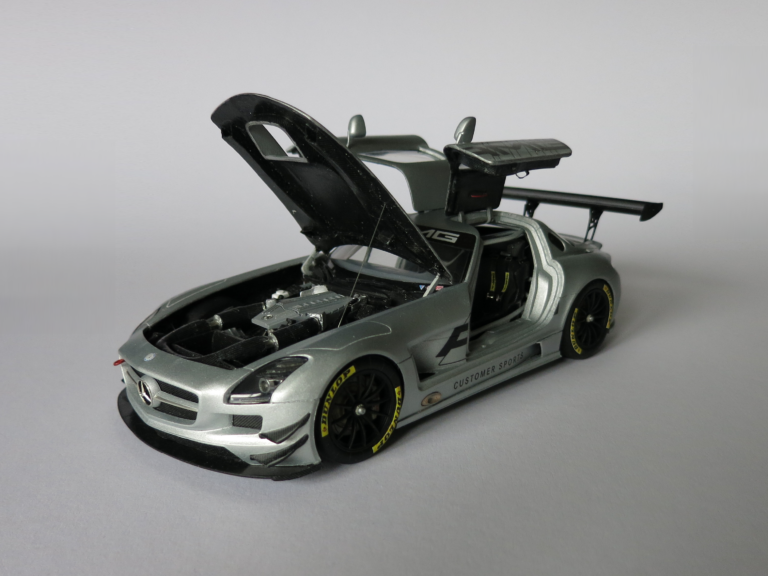
SLS GT3 – PART 16 – Body Assembly
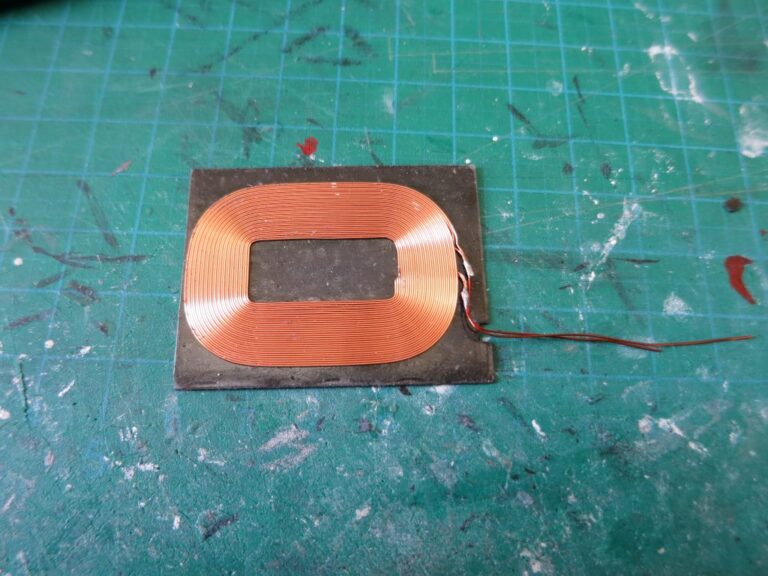
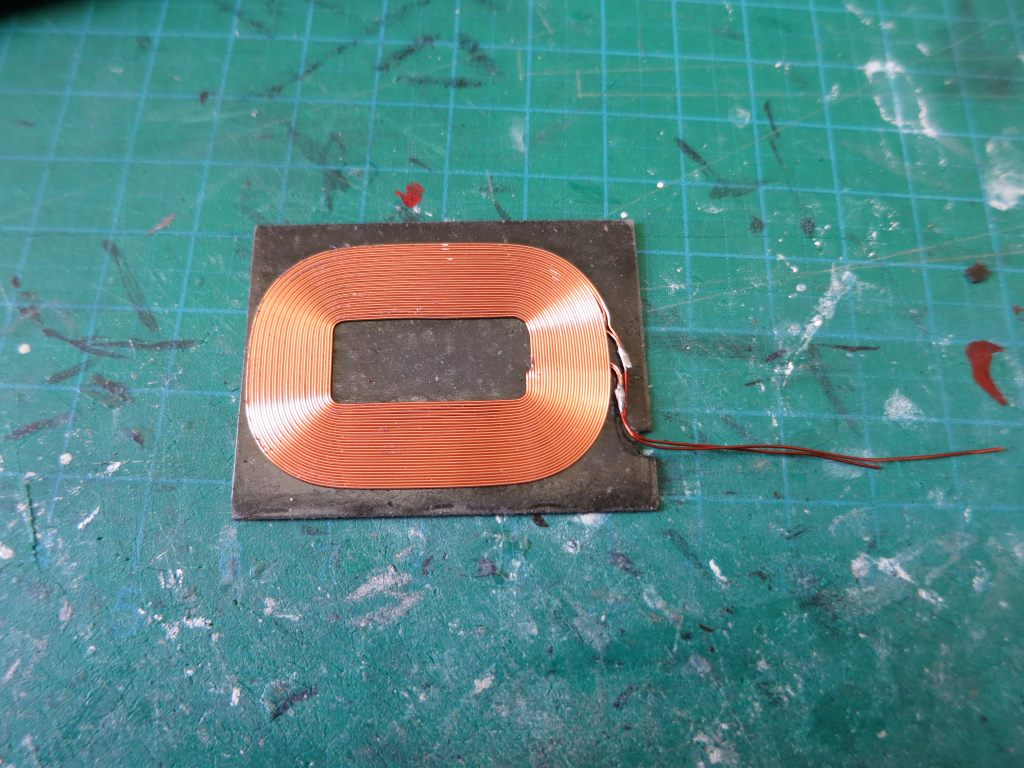
It’s time for the last chapter of this build which was on my table for over 1 1/2 years now! All the planning of the tight fit would now come to a reality check. First, the cockpit with the frame was finally permanently glued on the underbody. There are connectors between the wireless charging coil and the battery pack to the cockpit segment. They were finally stuck together on the right side of the car.…

SLS GT3 – PART 15 – Bodywork Details
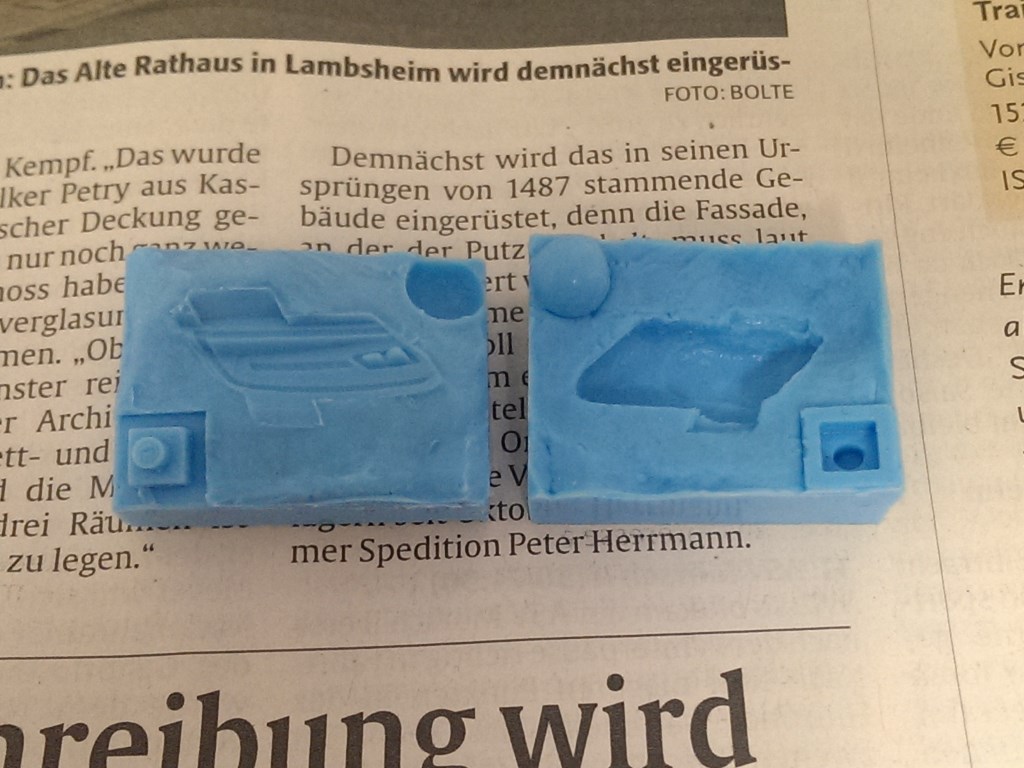
It’s time for the last details concerning the bodywork. Photo etched (PE) mesh from the Hobby Design detail up set was painted black and applied to the front and hood intakes. The small fins on the hood intake were covered with bare metal foil. The same happened to the Mercedes star and the leading edge of the front intake seperator. Speaking of the hood: On the inside you can find channels that direct the air…
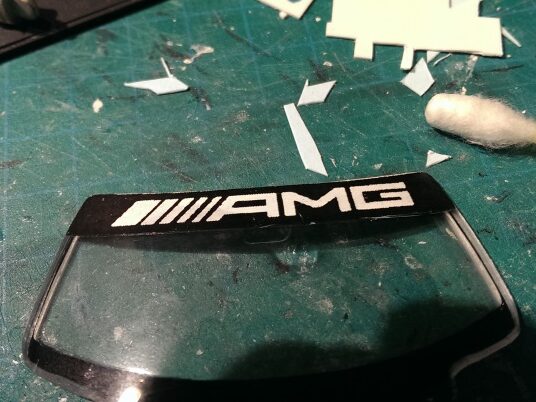
SLS GT3 – PART 14 – Windows
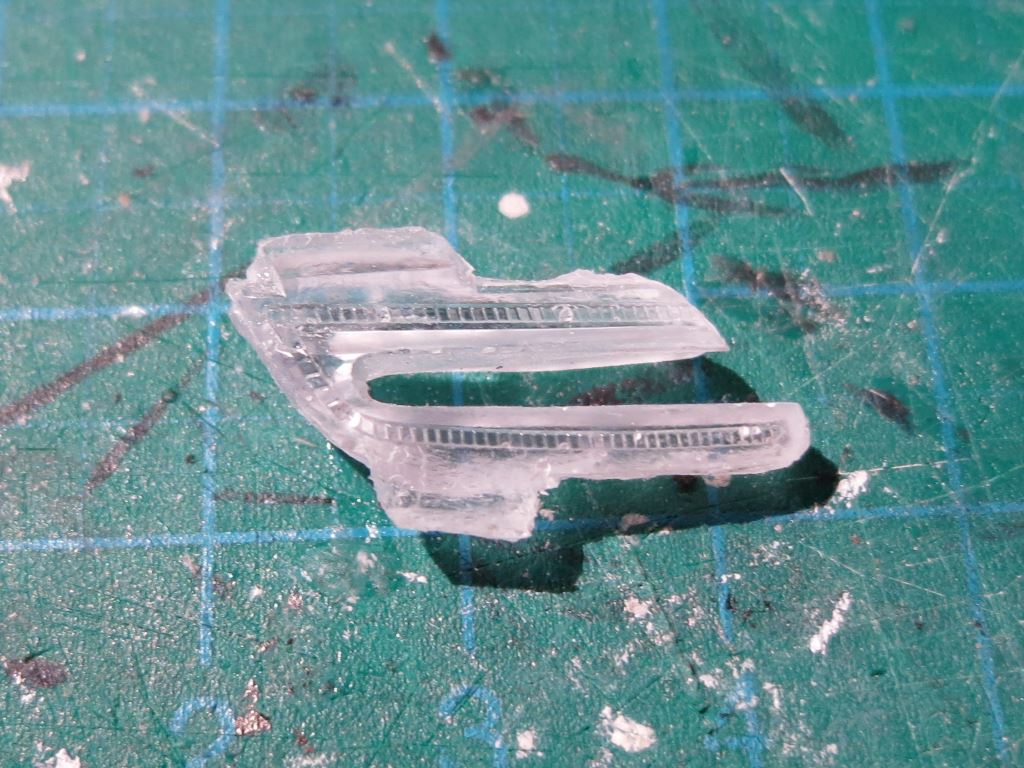
The car has a AMG banner on the top of the windscreen. This sticker was drawn and then twice printed to transparent decal paper (like I did with some previous decals). First, one of the two similar decals was applied, then some white paint (because standart printers can’t print white of course) and then the second decal. This makes the AMG logo visible from the inside and outside alike. The rear window had road car…
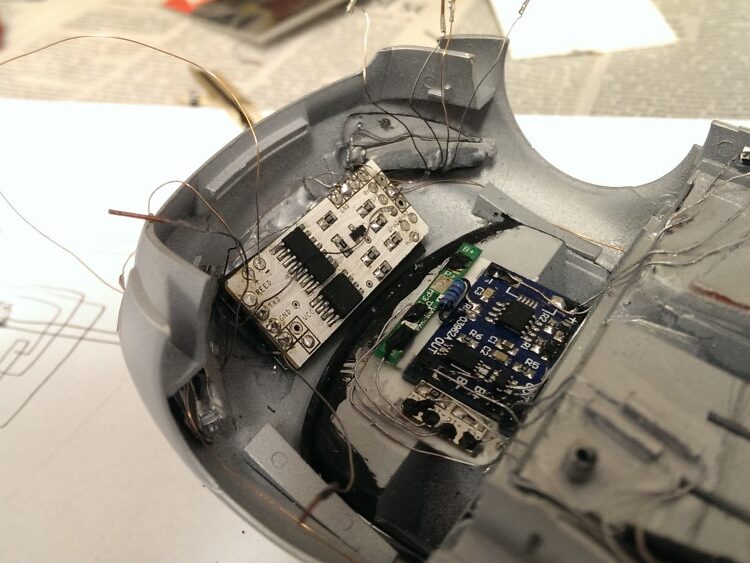
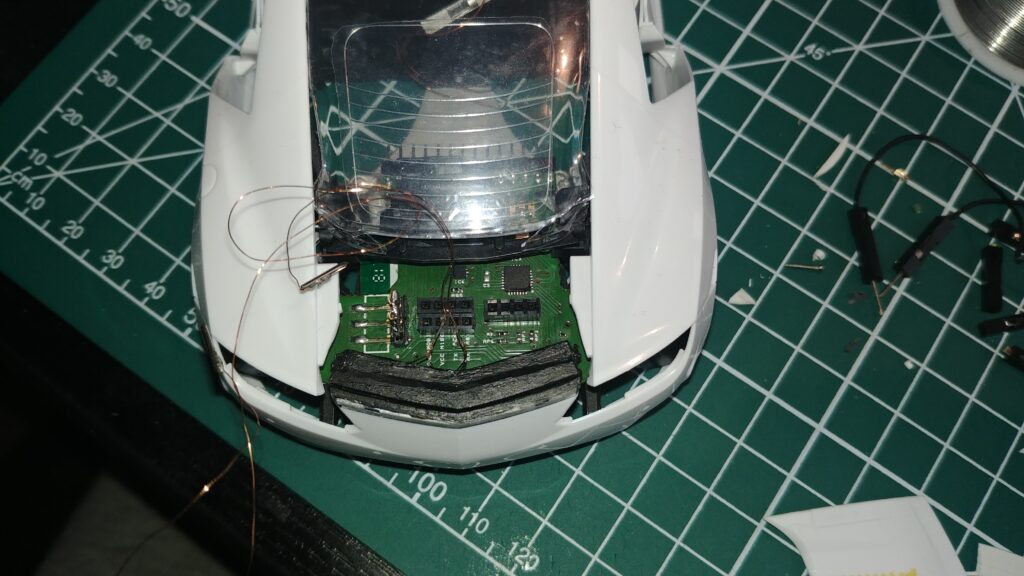
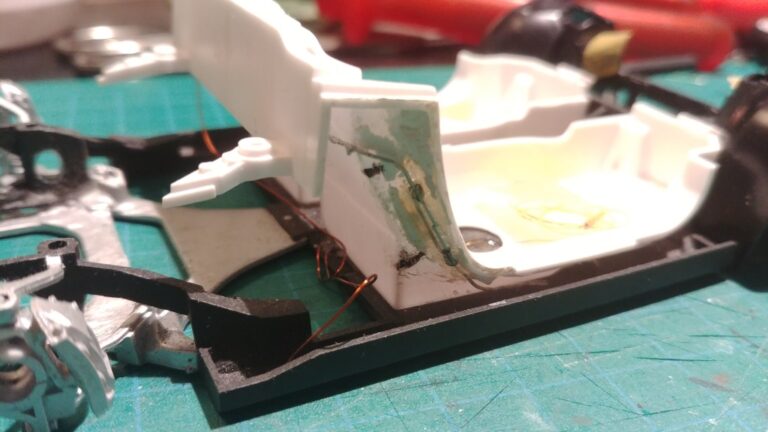
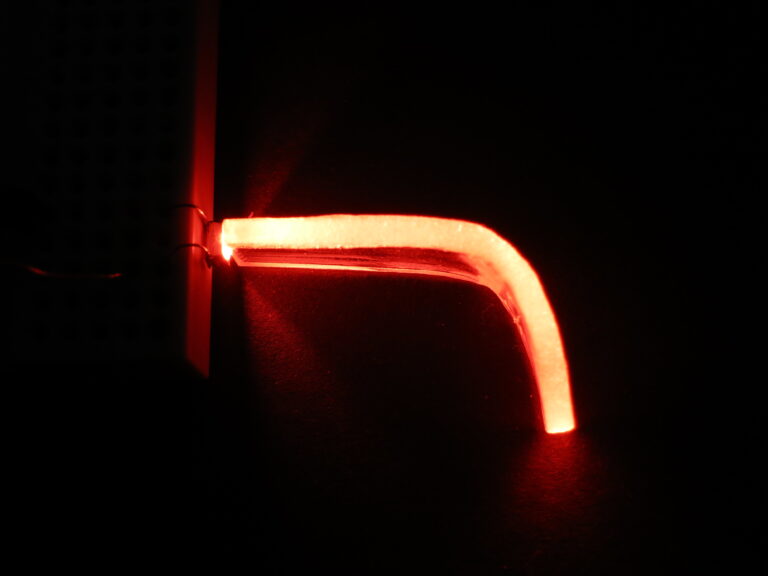
SLS GT3 – PART 13 – Electronics Integration
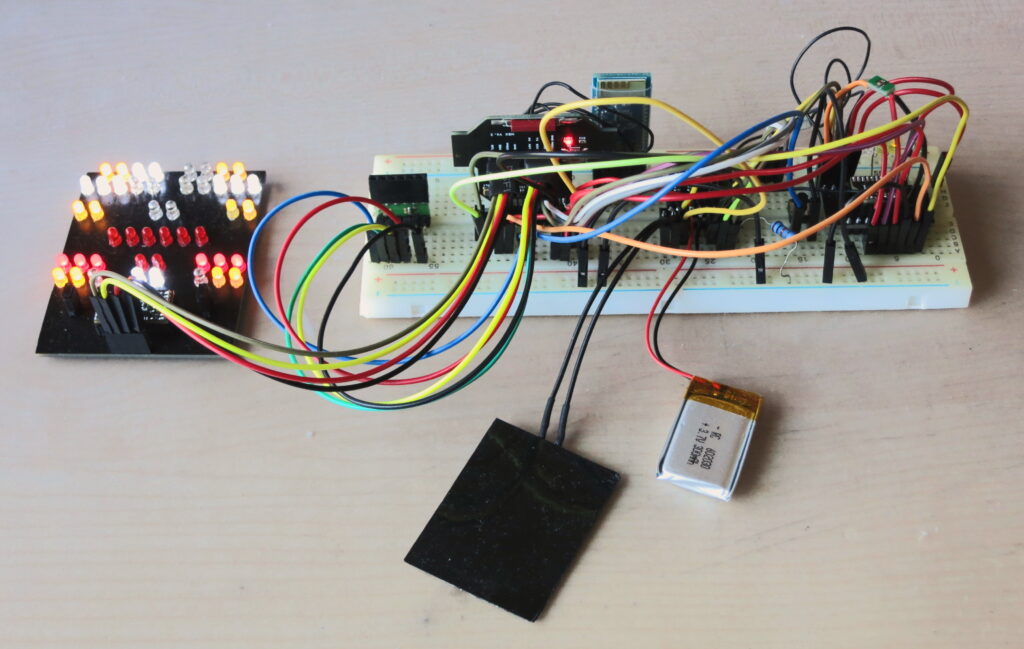
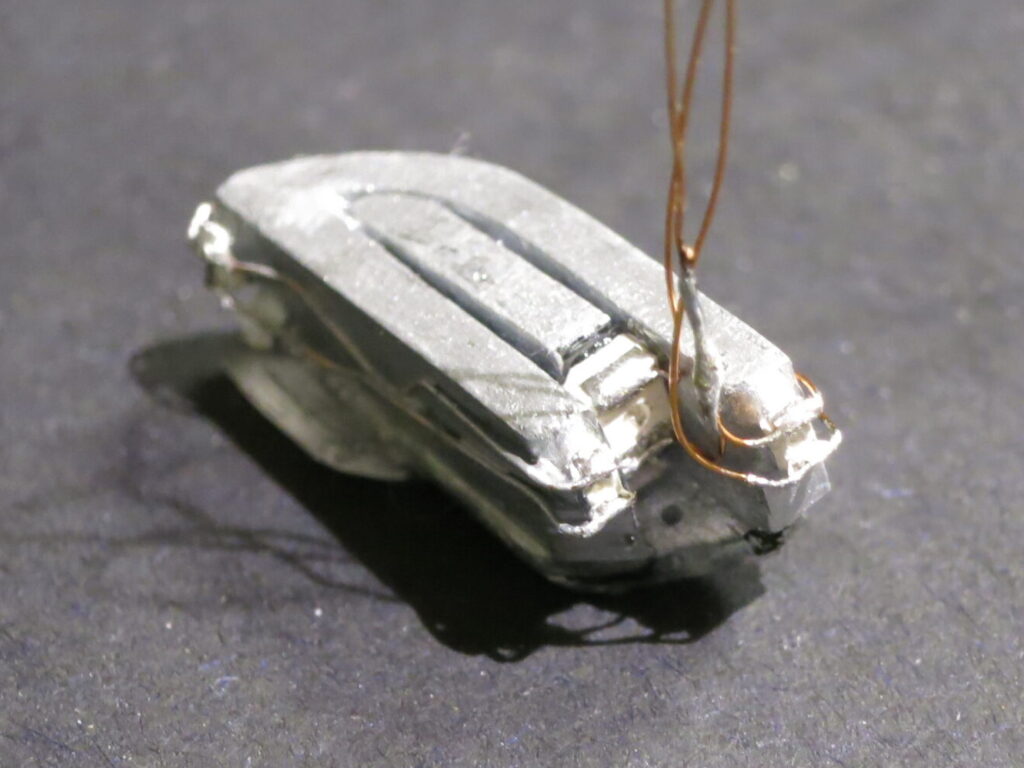
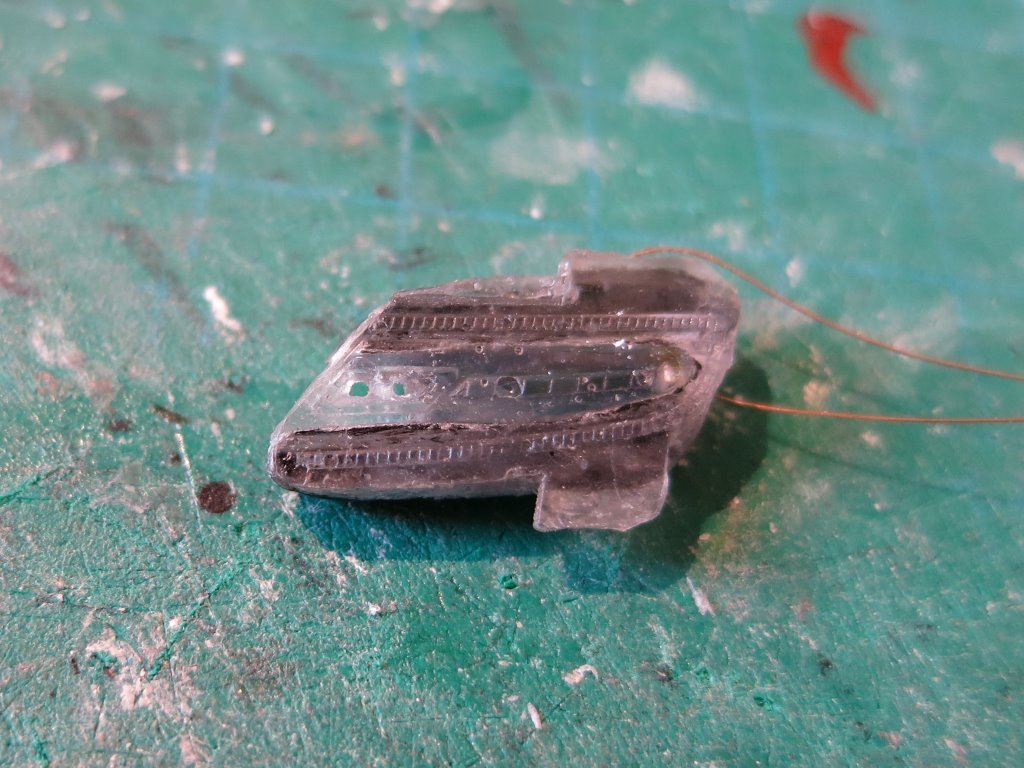
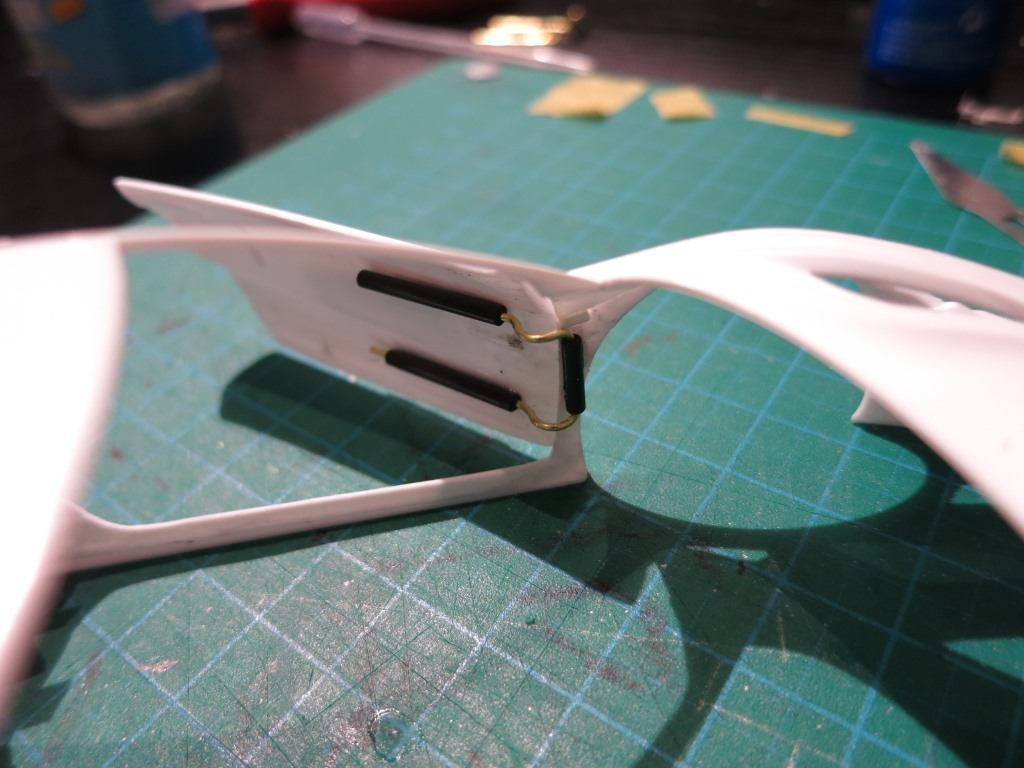
After the body was finally painted, the rest of the electronics could be integrated. The front and rear lights, the main PCB together with the Bluetooth module and the magnetic power switch were glued in. Enamelled coper wires are used to connect everything. These wires are very thin and isolated by a thin enamel coating. This coating can partially be scratched or melted away for soldering. In one of the above pictures you can see…
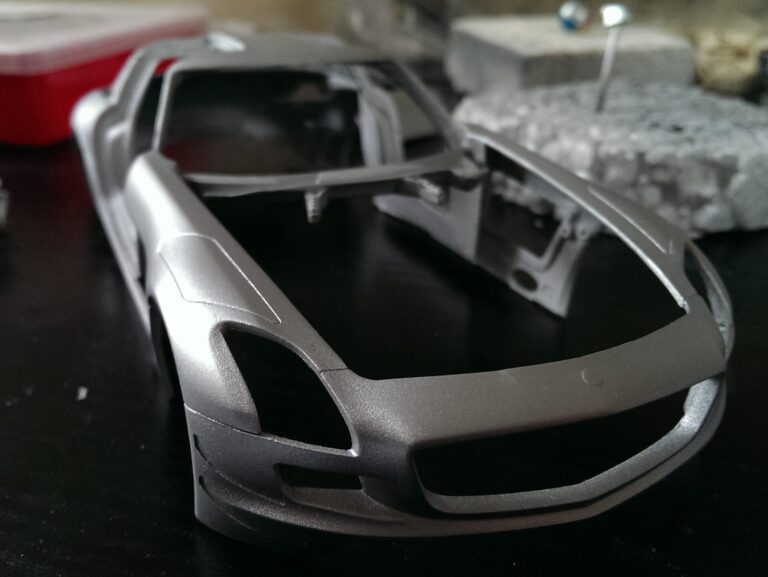
SLS GT3 – PART 12 – Livery
I had a few liveries for the SLS in mind. Most of them were real world racing liveries. But in the end I couldn’t resist the simple but in my opinion very elegant and fitting silver showcar livery I saw at Europapark in 2014! The primer I used was Vallejo’s grey surface primer. I wanted to spray multiple thin layers with sanding inbetween. However the primer had the very strange property to peel off like…
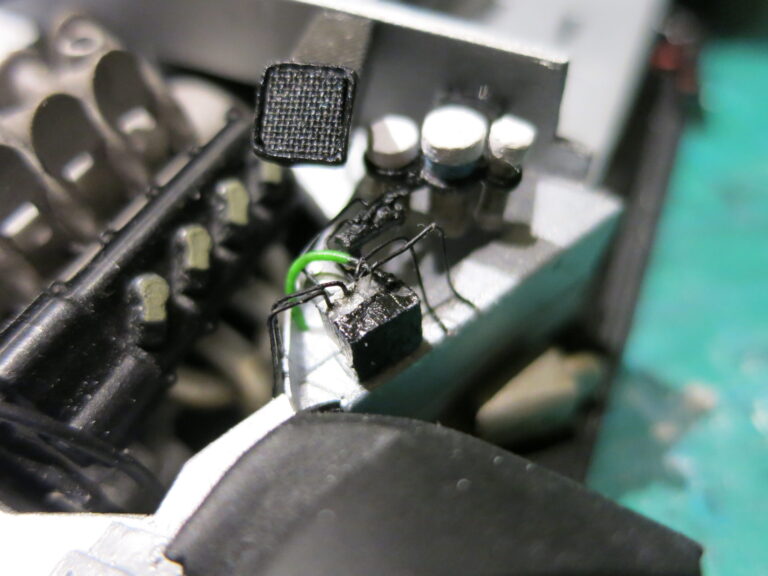
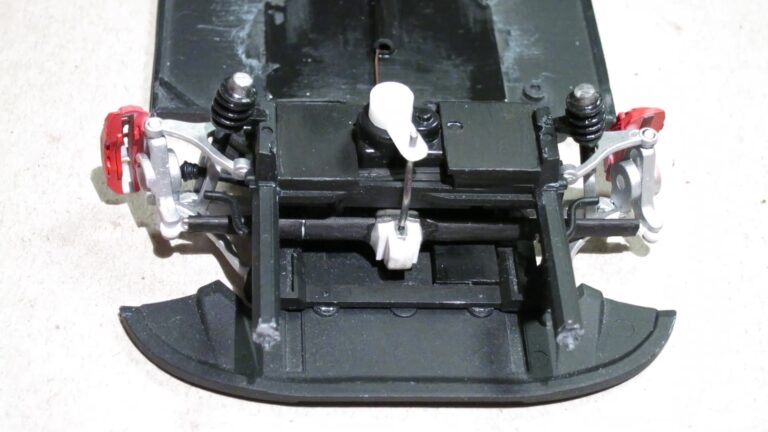
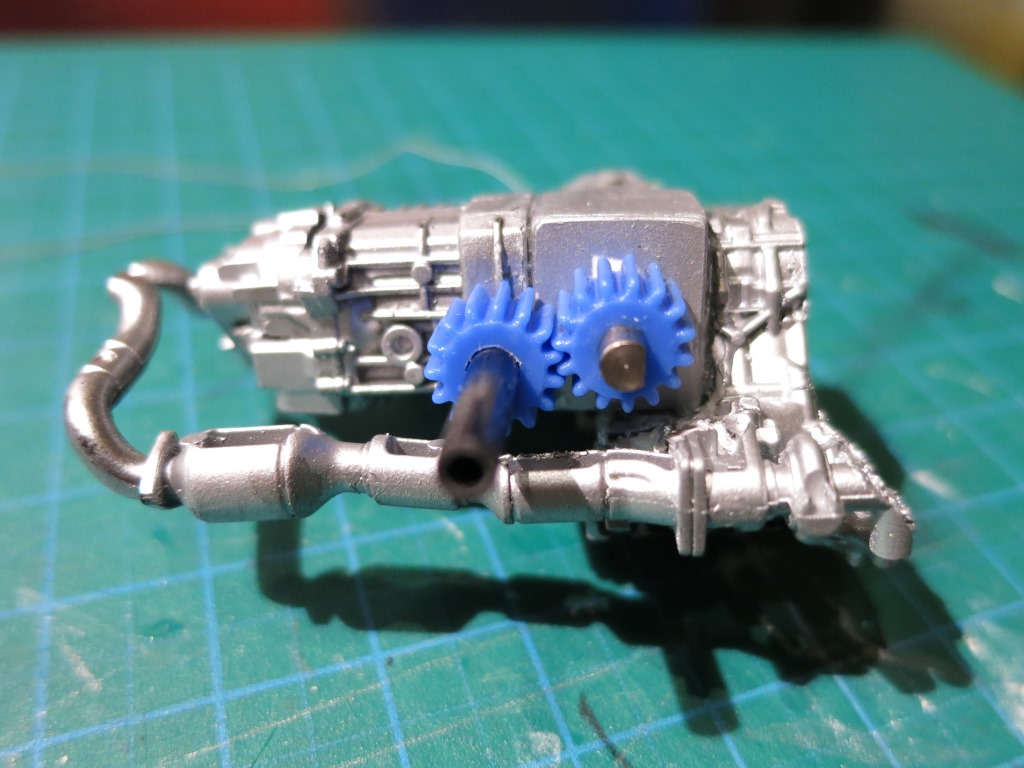
SLS GT3 – PART 11 – Engine Details
There are plenty of components, hoses and wires inside the engine compartment. In hours of fine work those were replicated. Again styrene, different metal wires and Milliput were mainly used. – Project Page –
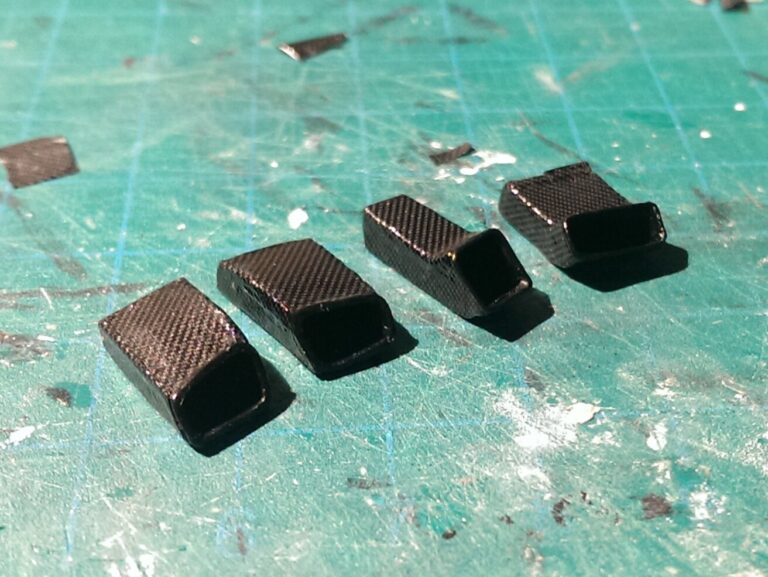
SLS GT3 – PART 10 – Air Intakes
Main Intake The big intake at the front has a rather complex shape. It needs to fit around the radiator and beneath the hood. I melted together some flexible parts of drinking straws to make an initial shape. This construction was fixed using epoxy glue on the outside. This also smoothened the shape. Some filling and sanding later I glued on parts of styrene (and smoothened the transition with Milliput) to get the shape at…
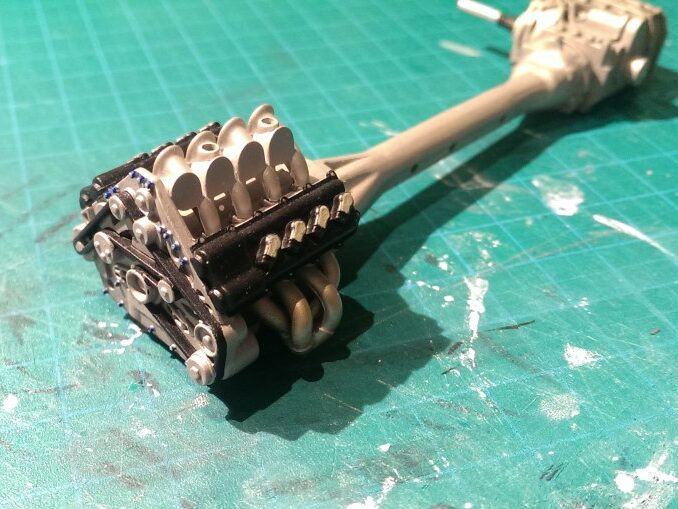
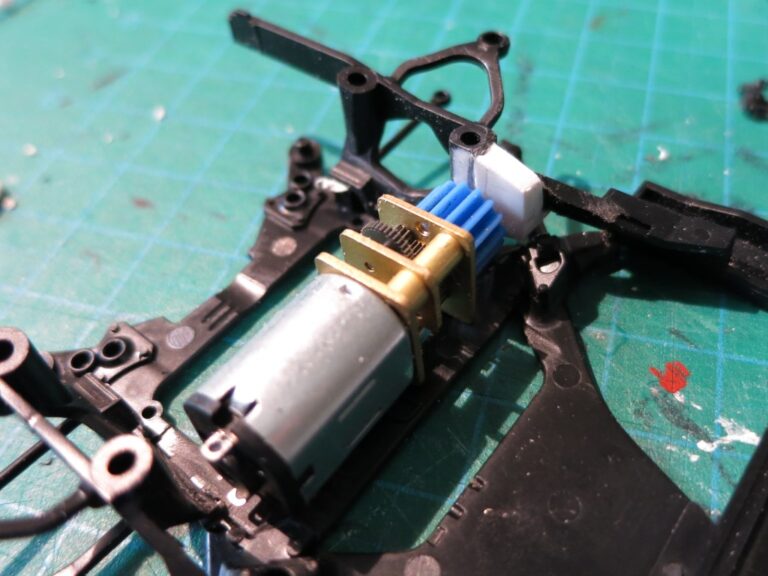
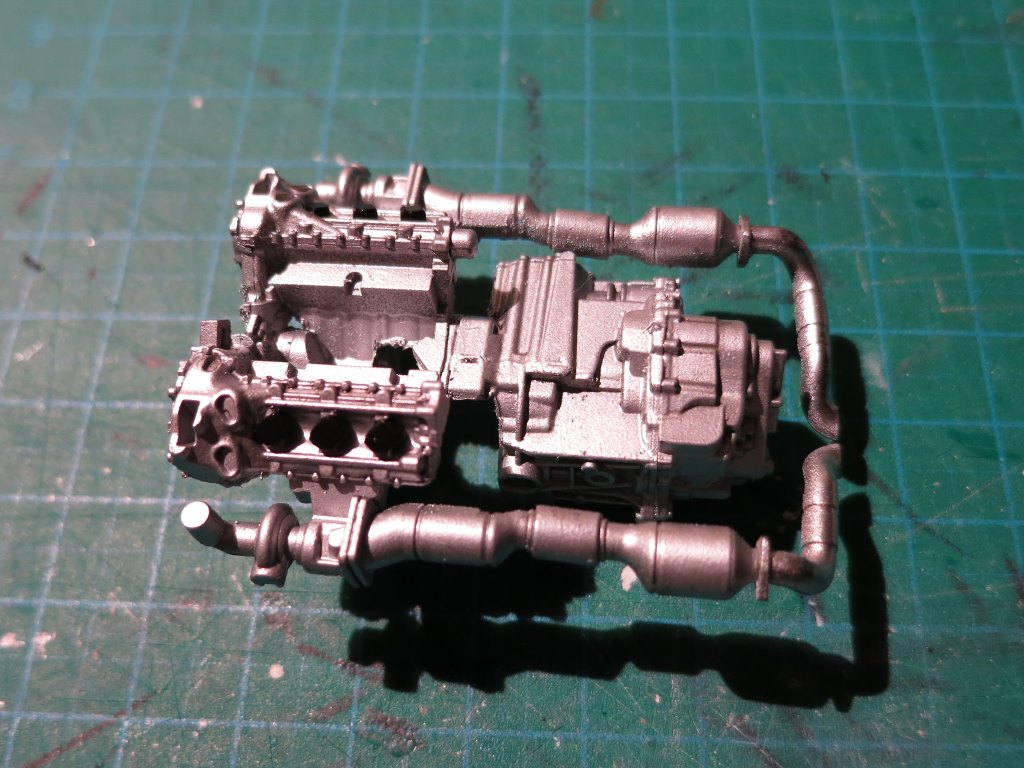
SLS GT3 – PART 9 – Engine
The engine-block is nearly identical to the roadcar version and was taken straight from the Revell kit to the GT3 car. From the Revell kit I also took some engine parts and the radiator. The integration of the engine into the model now shows that the crash-frame was build correctly. The engine cover was painted grey and the Mercedes star was realized with some bare metal foil applied and carefully cut out. It’s time for…